

Setting up Voice Channel with Azure Communication Services in Dynamics 365 Omnichannel for Customer Service

In this article, I will detail the steps involved in setting up a Voice channel with Azure Communication Services in Dynamics 365 Omnichannel for Customer Service.
First, let me break down the terms from the title.
Dynamics 365 Omnichannel for Customer Service is an additional capability of the Dynamics 365 Customer Service business application solution from Microsoft that empowers organizations to provide best-in-class customer support to their customers. Think supporting customers via various channels such as Phone calls, Live Chat, Social Media chat (WhatsApp, Facebook etc.) and even good old Email.
Azure Communication Services (ACS) offers multichannel communication APIs with which organizations can add voice, video, chat, text messaging/SMS, email, and more to their applications. Think all the plumbing required for the various ways communication happens. That’;s what Azure Communication Services enables you implement in your apps.
This article is about how you’ll go about using ACS to setup your Voice Channel in Omnichannel for Customer Service. The intended outcome is for customers to be able to call a support line, get routed to an agent and have their enquiry resolved. We’ll look at the structure of the setup and what needs to be configured where.
Now, lets get into it.
Here’s what the setup looks like

The target flow is such that:
A customer calls the phone number on the support portal (this is the number that will be provisioned in Azure Communication Services)
Azure Communication Services routes the call to the Voice Channel in the Workstream within Omnichannel (we will be configuring this integration as well)
Within the workstream, the call is passed through the routing engine, where routing rules are applied to determine which queue should handle the call
The call is routed to the identified queue and …
… an agent in that queue with the right availability and capacity is assigned the call. They accept the call and the customer now has an agent talking to them about their issue
Having laid out the target setup, let’s start with the configuration steps
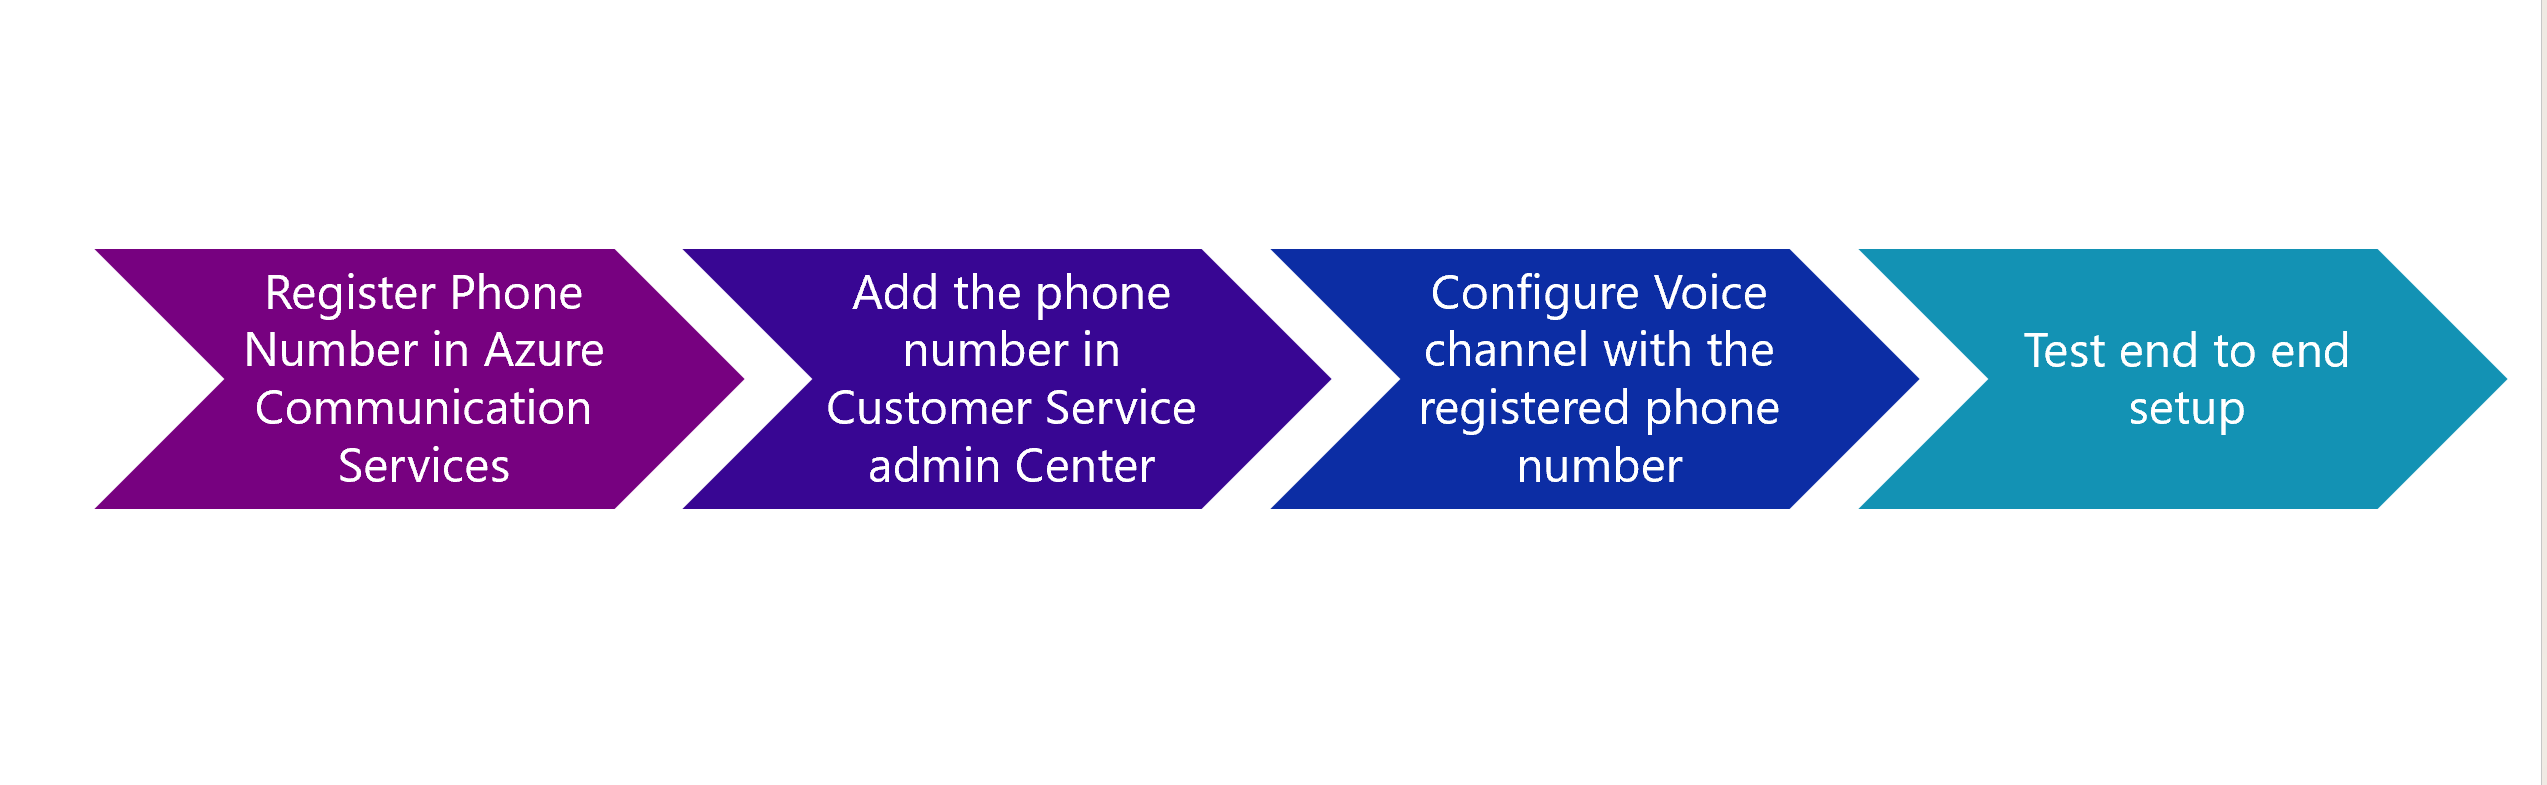
Register Phone Number in Azure Communication Services
To register a phone number in ACS, you need to bear in mind certain prerequisites and conditions. One such condition is the availability of phone numbers in your target region/country.
This is because numbers can only be purchased on eligible Azure subscriptions and in geographies where ACS is legally eligible to provide them. Besides, the functionalities and numbers you can use depend on the country you operate in, your specific use case and number type. Regulatory differences between countries impact the capabilities at your disposal within ACS. You can check which conditions apply to your country here
Assuming Phone Numbers are available in your region, these prerequisites have to be in place
An Azure Account with an active subscription
An active ACS resource and connection string
If you’ve got these in place, then follow the steps below to provision a number in ACS
Create an ACS resource
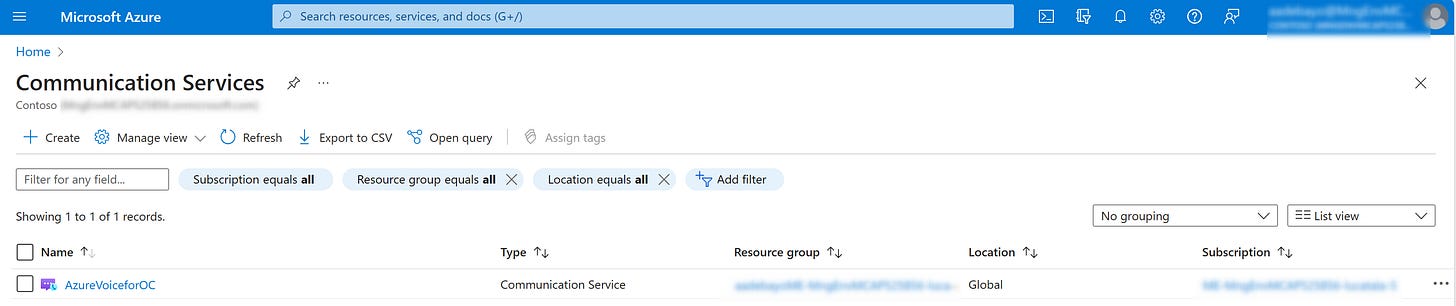
In Azure portal, search for Azure Communication Services
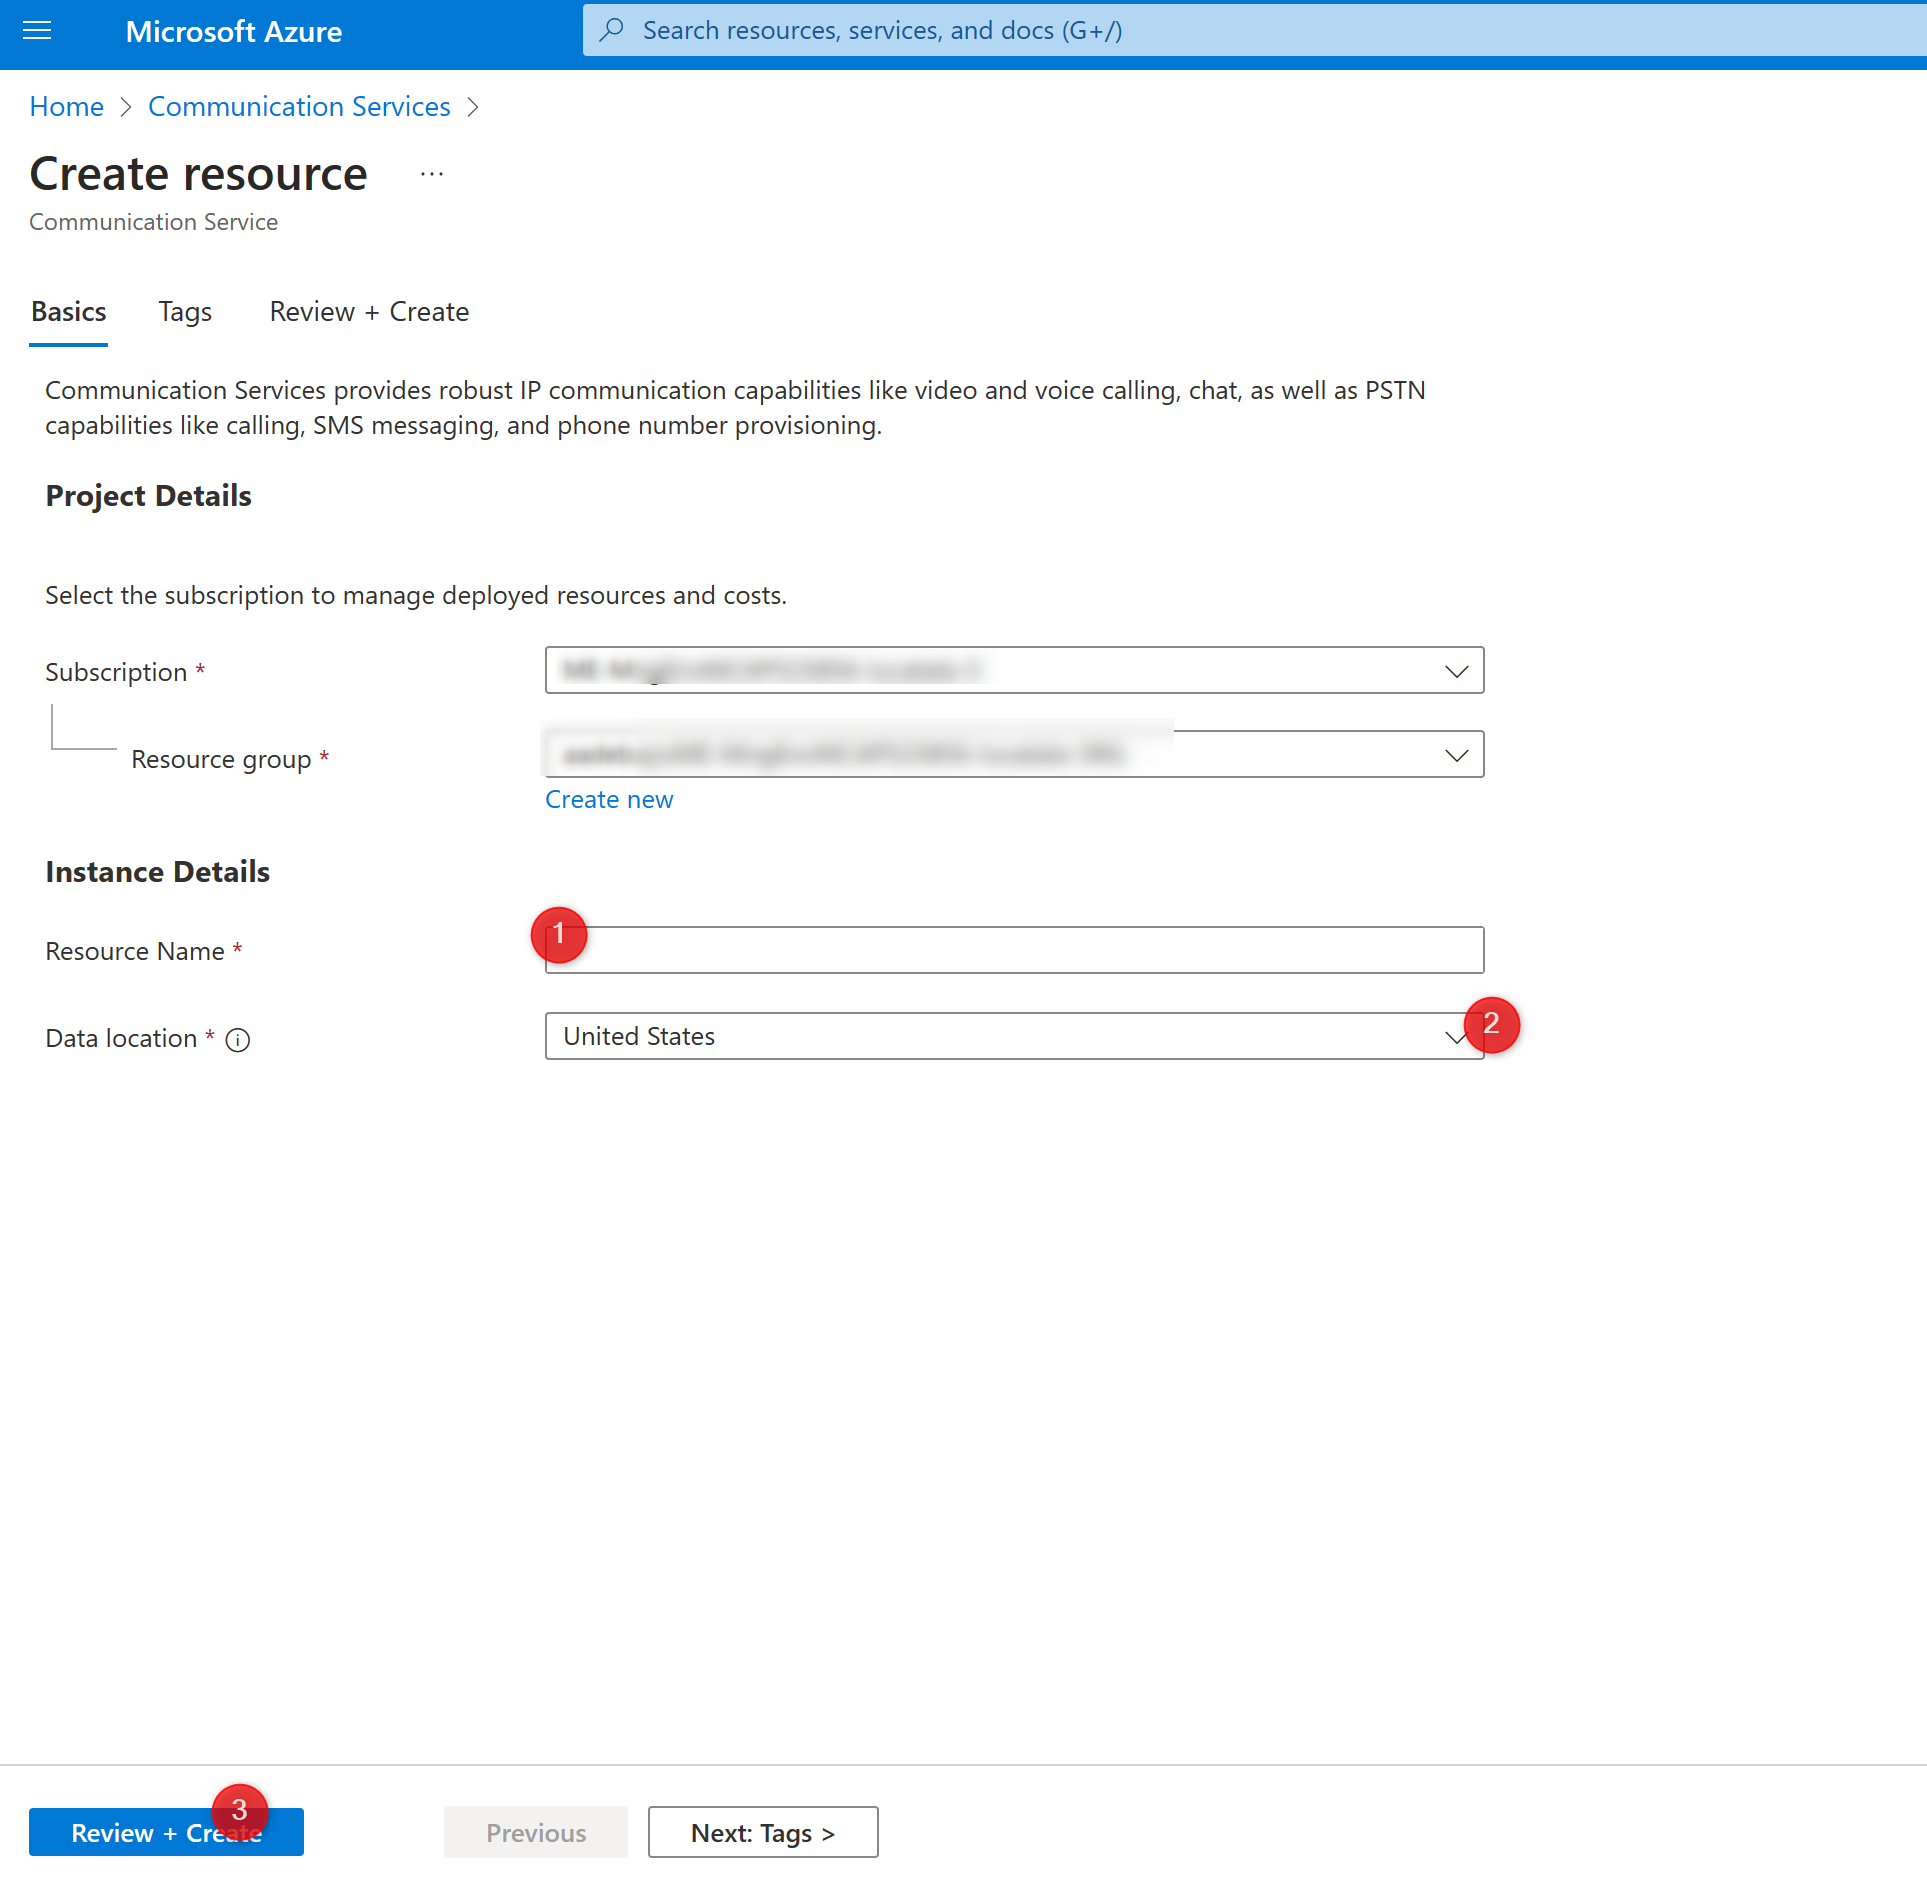
Click on Create

Fill in the Resource Name and select an appropriate value for Data Location

Once completed, you should see a screen like this with your Communication Service resource listed
Open your freshly minted ACS resource and now you can create a Phone Number in there.
Click on Phone Numbers under the Telephony and SMS category on the left pane

Click on Get
You can optionally get a free telephony number to try out calling but you can only use this number to call verified numbers
You should now see a Get phone numbers screen where you can choose different settings pertaining to your phone numbers
The first detail to select is your country or region (I chose USA for the test as it’s one of the regions with all number capabilities enabled)
Next, you need to choose your use case. You have the choice between
An Application will be making calls or sendiung SMS messages
A person will be making calls or sending SMS messages
Choose whichever use case applies to you. I chose the option of an application making phone calls.
Next, you need to select which Calling and SMS options you want enabled under Features.
Click on Next. Now you should see an option to select the number prefix and the quantity of numbers you intend to get.
Click on Search for ACS to show you available numbers
After this point, you have 16 minutes to complete your order.
If you’re satsifed with your choices until now, click on Next:summary button at the bottom of the page
The next page is a summary page which looks someting like this

Click on Place order to complete the purchase
After the number provisioning completes, you should have a screen looking like this

That’s it. You’ve just provisioned a phone number in ACS which we will now use to configure a Voice Channel in Customer Service admin center


Add Phone Number in Customer Service Admin Center (CSAC)
In CSAC, click on channels → Phone Numbers → Manage
Click on + New Number (first time you do this, choose the option to create a new Azure Resource); Afterwards, creating a new number is a breeze and can be fully completed within CSAC
If it’s your first time, click on “Advanced” to open options for you to bring in the Phone number you configured in ACS into CSAC
You’ll need to create an App Registration as one of the inputs for the configuration. Here’s how to Create an App Registration
The other inputs you need are the ACS resource name and connection string. You can find these in the Properties page of the ACS resource itself. See below

Once your number is available within Omnichannel, you should see a screen like this in CSAC

Now, you’re ready to configure a voice channel using this freshly minted phone number


Configure Voice channel based on ACS Phone Number
In CSAC, go to the Workstreams area.
You can create a new workstream or use on of the existing ones. I chose to configure one of the existing ones
In the workstream details page, click on “Add Voice Channel
Then step through the screens to configure Behaviors and Languages
Test end to end setup
The final step is to test the end to end setup.
The expectation is: When we place a call to the ACS Phone Number, it should be routed to an agent logged in to Omnichannel and they should be able to accept the call and carry on a conversation with the customer.
Here are the results
Prompt to Agent about an incoming voice call

Transcript of Conversation in Customer Service Workspace

That brings us to the end of this walkthrough where we’ve see how to configure a Voice Channel in Omnichannel using Phone Number registered in Azure Communication Services.
Up next, we’ll look at how you can integrate an Interactive Voice Response (IVR) bot so that customers can provide some information, get some initial help before being handed over to a human agent.
Look out for the next part of this article where I cover the integration of IVR.